
Technical difficulty
Duration of the procedure
Number of steps in the tutorial
This manual will help you give your iPhone 6 a second chance at life thanks to a new battery.
This manual instructs you to remove the front panel assembly with the display – this step is important to protect the display cables. If you feel like you are capable of holding the display in place during the battery replacement you may skip this step and move directly to the section on battery replacement.
Calibrate you new battery after installing it: Discharge it under 10% and then fully charge it to 100% without disruption.
Replacement parts for iPhone 6 can be found in our offer on our e-shop in the replacement parts section. If you are interested in a service task for iPhone 6, visit one of our branches and we will arrange a one-day repair.
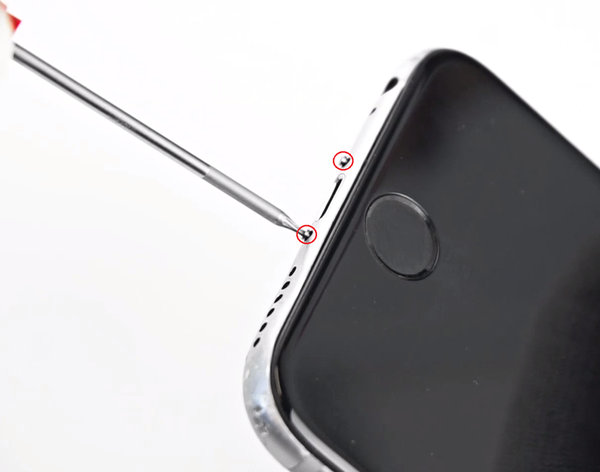
Step 1 Remove Pentalobe screws
Before disassembling the iPhone, discharge the battery under 25%. Charged lithium-ion battery can catch fire or explode, if accidentally damaged.
- Turn off your iPhone.
- Remove the two 3,6 mm Pentalobe screws next to the Lightning connector.
Step 2 Opening the device
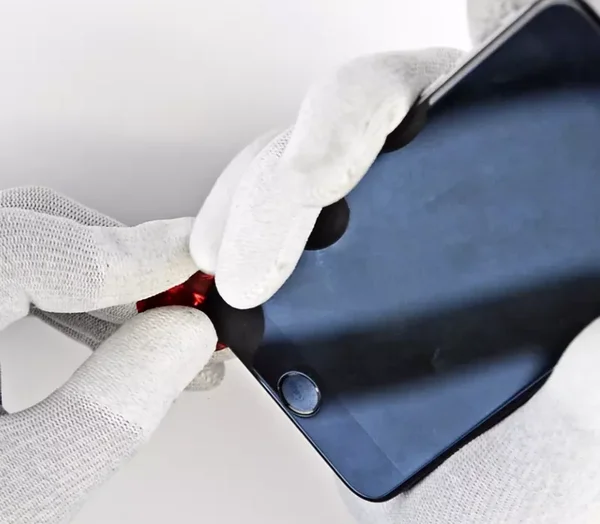


- Insert the pick into the gap
- Creating this gap requires a considerable amount of strength. If necessary, loosen the display with a upwards-downwards movement, to create enough room for the spudger.
- Move the pick gently to the left on the bottom edge of the iPhone.
- Gently pry up the pick, to gradually enlarge the gap.
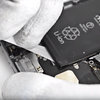
Step 3 Removing the accumulator console screws
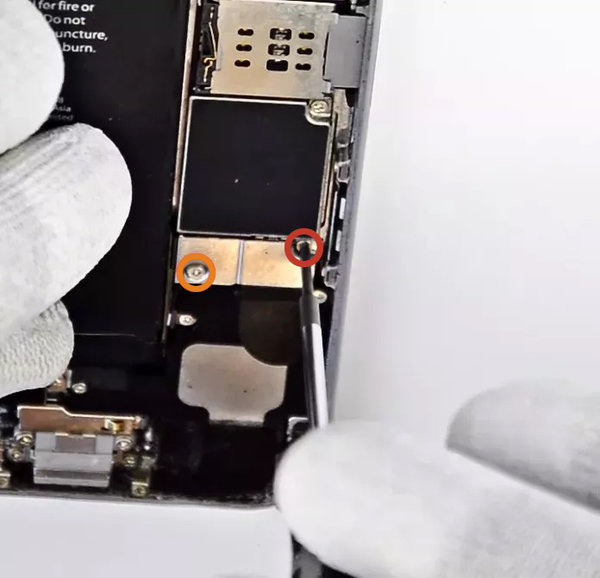
- Remove the following screws from the end of the battery connector:
- One 2,2 mm screws
- One 3,2 mm screw
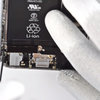
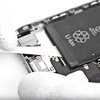
Step 4 Disconnecting the metal battery connector bracket
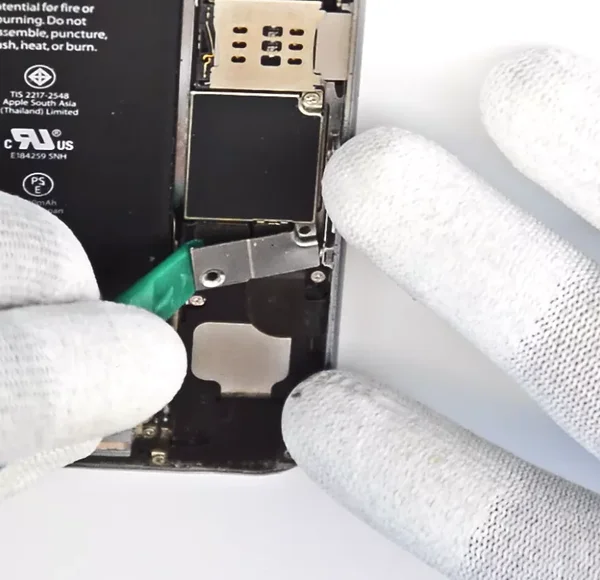
- Disconnect the metal battery connector bracket from the iPhone device.
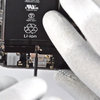
Step 5 Disconnecting battery connector
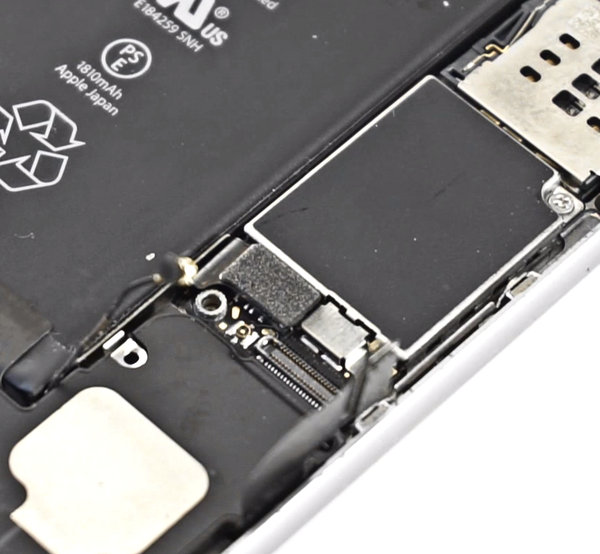
- Using a plastic spudger, gently disconnect the battery connector from its socket on the motherboard.
- Be careful, to disconnect only the battery connector and not to rip out the whole connector in the motherboard. If you launch the motherboard socket, you could completely rip the connector.
Step 6 Removing the vibrating motor
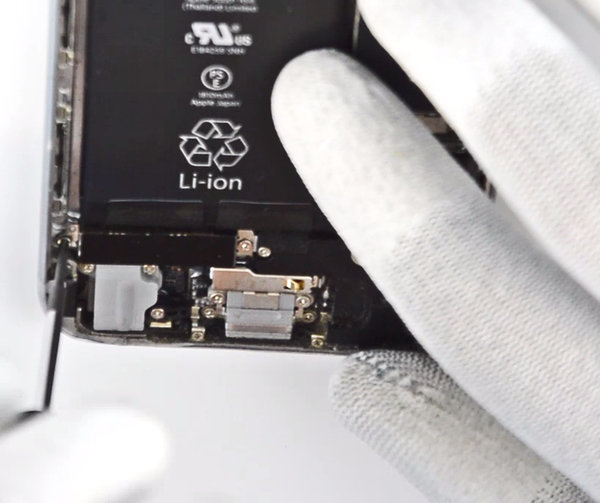
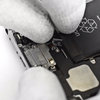
Remove the two screws, which secure the vibrating motor, and remove it.
Step 7 Removing the battery
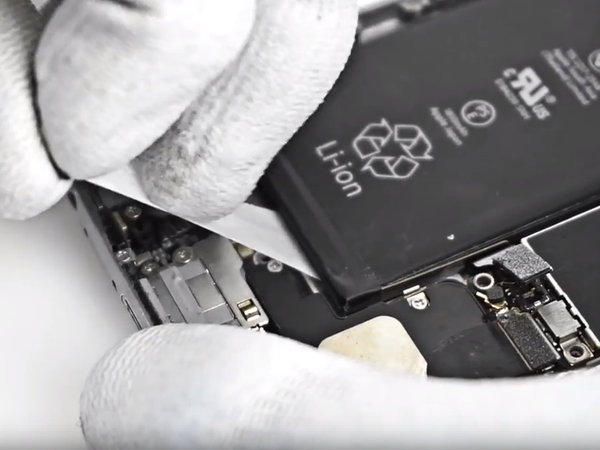
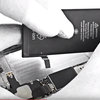
- Pull out the two adhesive strips from under the battery manually, and remove the battery.
Apply new double-sided adhesive strips on the new battery and install it into the phone by reversed process.

Going Green
We are constantly improving our carbon footprint to protect our planet. Read more about how we are adapting our processes to reduce our footprint.