

Samsung Galaxy A21s LCD Display Replacement
Technical difficulty
Duration of the procedure
Number of steps in the tutorial
Samsung Galaxy A21s LCD display replacement guide.
Opening the device will damage its water-resistant seals. If you do not replace the seals, the phone will still function, but it will no longer be water-resistant.
Before beginning the disassembly, discharge the device's battery to below 25%.
If you are unsure how to proceed, take the device to a qualified professional.
Perform the repair in a clean and well-lit area.
Step 1 Removing the SIM Card Tray
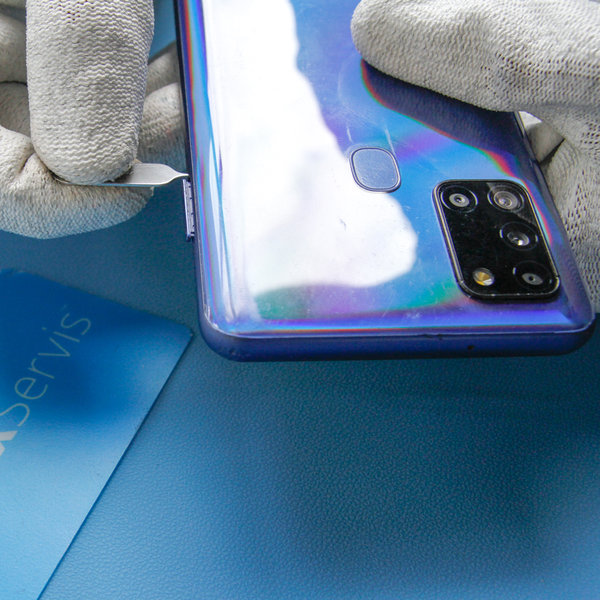
- Use a SIM eject tool to remove the SIM card tray.
When reinserting the SIM card tray, make sure it is oriented correctly.
Step 2 Opening 1
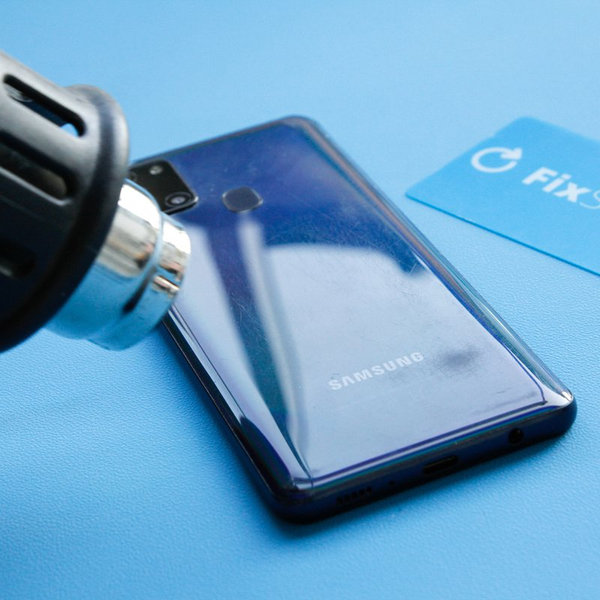
Heating the bottom edge of the smartphone helps soften the adhesive securing the display and makes it easier to open.
- Use a hair dryer or heat gun to heat the bottom edge of the smartphone for approximately 3 minutes, until it reaches a temperature of about 80°C.
- Do not put the smartphone in a microwave!!!
Step 3 Opening 2
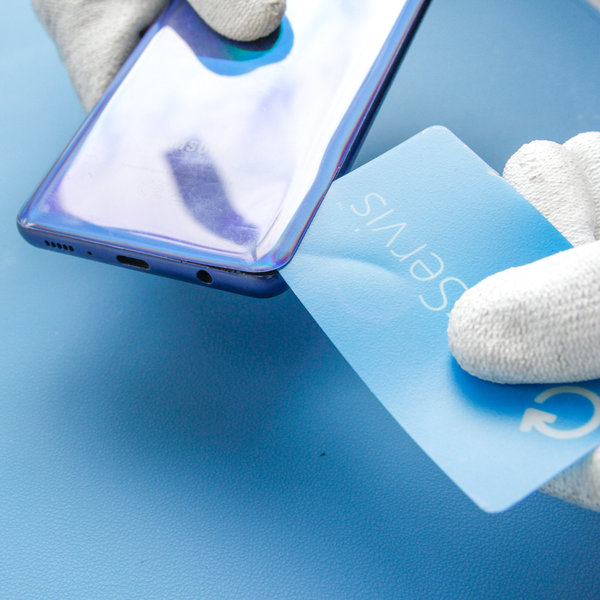
- Place a suction cup on the back cover and gently pull to separate the back cover from the smartphone frame.
- Then insert a FixServis opening card between the frame and the back cover to create a small gap. Slowly slide the card around the edge to loosen the adhesive and separate the back cover.
- If necessary, use a cleaning solution (Cleanser – 100% Isopropyl Alcohol).
If you have difficulty separating the back cover, heat the smartphone again to further soften the adhesive. Be careful not to overheat the device.
Step 4 Removing the Back Cover
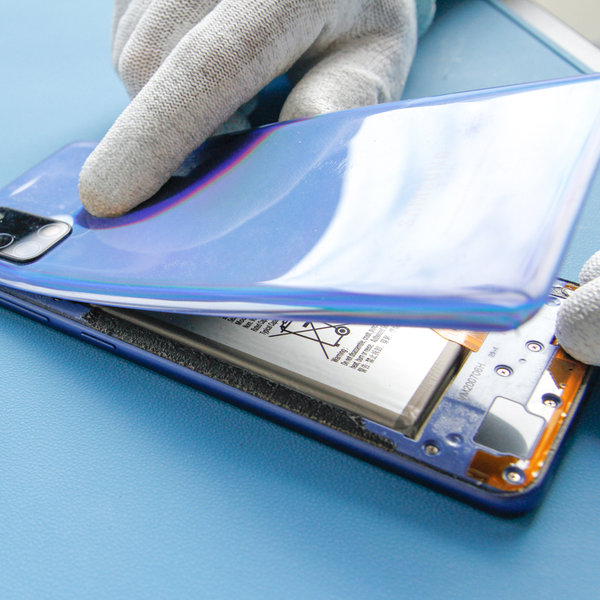
- Remove the back cover.
Step 5 Removing the Midframe
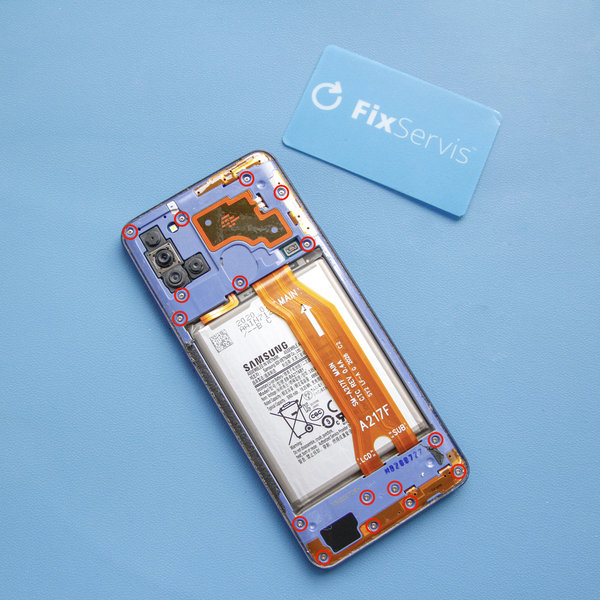
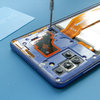
- Remove the sixteen 3 mm Phillips screws securing the midframe.
Throughout the repair, keep track of each screw and make sure it is reinstalled in its original position to avoid damaging your smartphone.
Step 6 Removing the Midframe
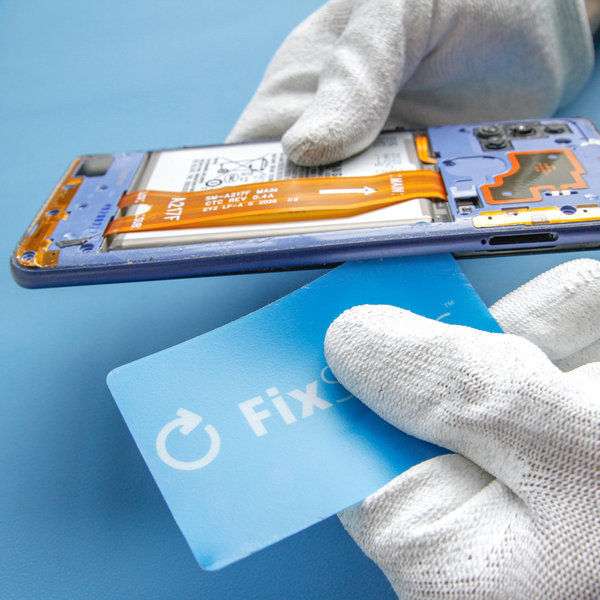
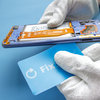
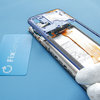
- Insert a FixServis opening card between the midframe assembly and the front panel, then slowly slide it around the smartphone to separate the midframe.
- Then remove the midframe.
Step 7 Disconnecting the Battery
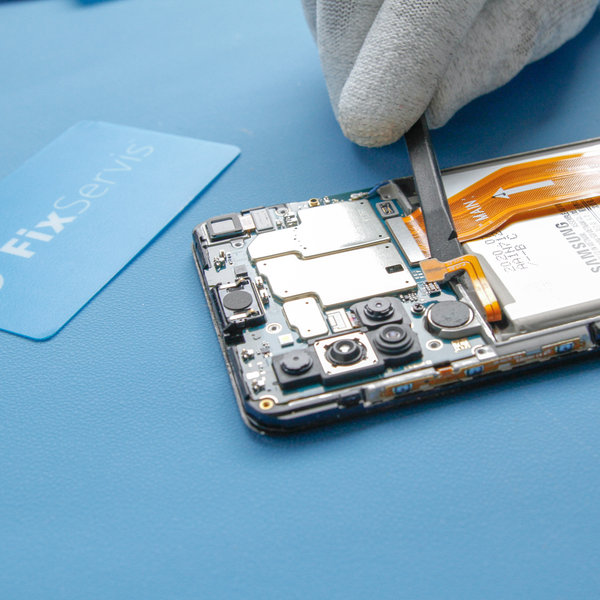
- Use the flat end of a spudger to disconnect the battery connector.
Step 8 Disconnecting the Interconnect Cable from the Motherboard
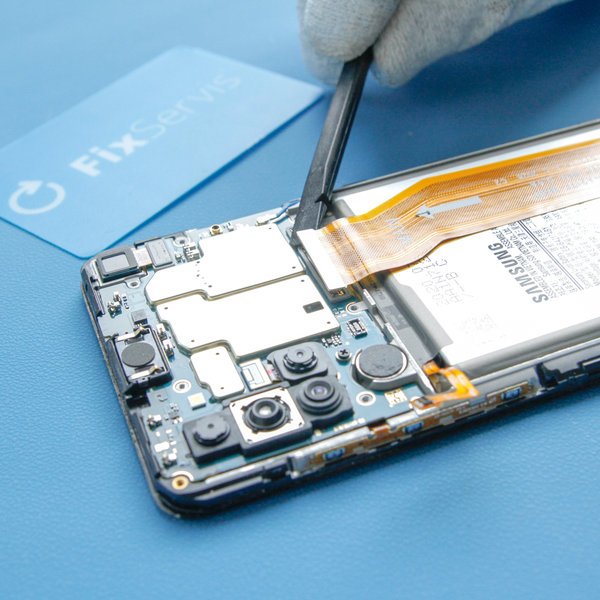
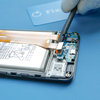
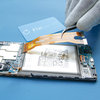
- Use the flat end of a spudger to pry up and disconnect the interconnect cable from the motherboard at both the top and bottom ends.
- Then remove the cable using tweezers.
Step 9 Disconnecting the Antenna Cable
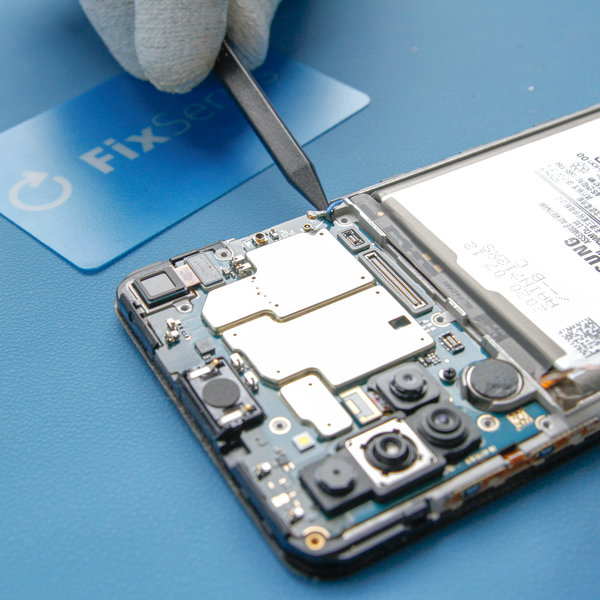
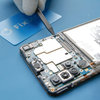
- The cellular antenna cable is connected to the motherboard.
- Use a spudger to disconnect the antenna cable from the motherboard at both the top and bottom ends, then remove it using tweezers.
Step 10 Removing the Battery
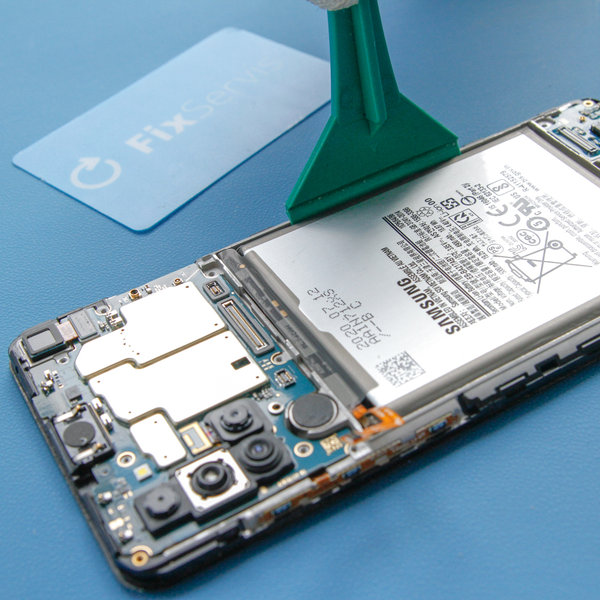
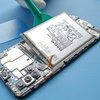
- Use a large spudger or a FixServis opening card to remove the battery from the device.
- If you are unable to remove the battery, use a hair dryer or heat gun to heat the display for 1–2 minutes to soften the adhesive underneath the battery.
Be careful not to overheat the smartphone.
Step 11 Removing the Motherboard
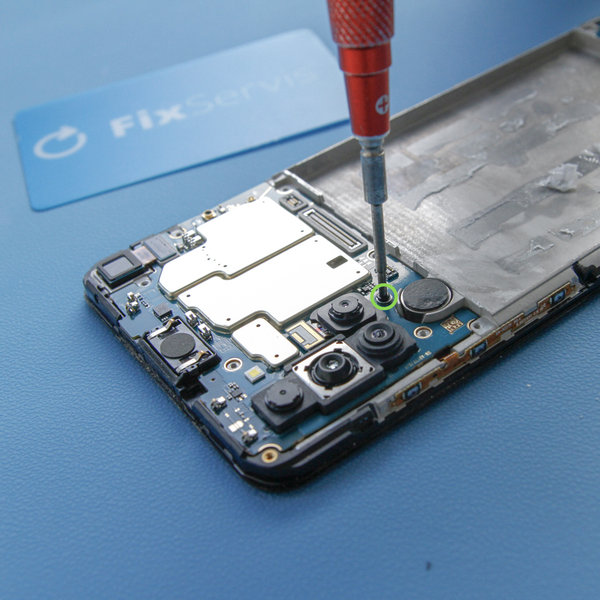
- Use a screwdriver to remove the Phillips screw.
- Then use a spudger or tweezers to remove the motherboard.
Step 12 Heating the USB Board
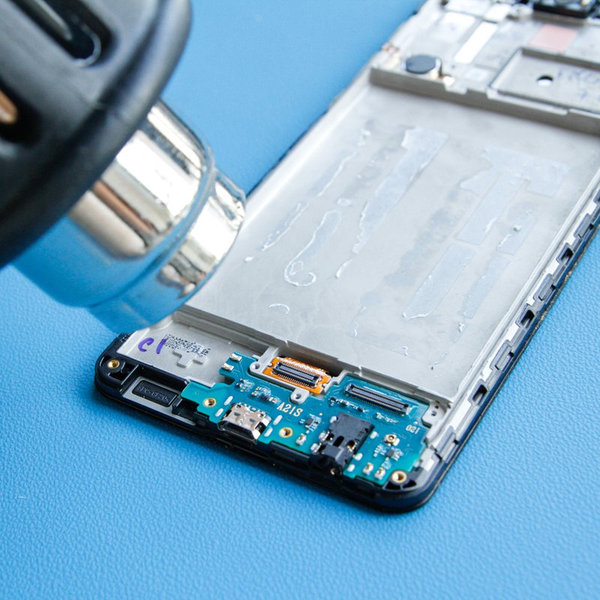
- Use a hair dryer or heat gun to heat the USB board for approximately 1–2 minutes to soften the adhesive underneath it.
Be careful not to overheat the smartphone.
Step 13 Removing the USB Board
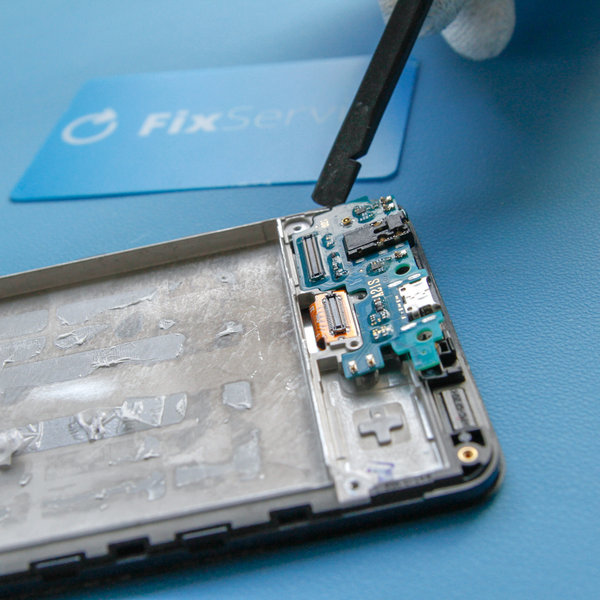
- Use a spudger to remove the USB board from the smartphone assembly.
Step 14 Removing the Old Adhesive from the Midframe
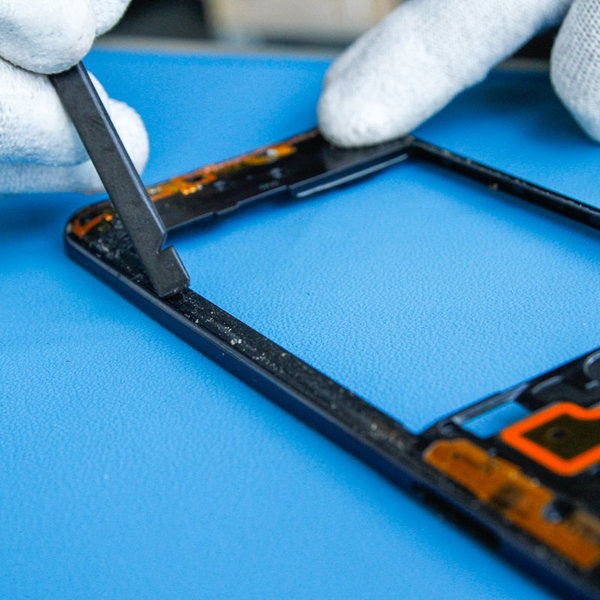
- Remove the old adhesive from around the edges of the midframe.
- If necessary, use Cleanser IPA Plus cleaning spray to remove any remaining adhesive residue.
Step 15 Installing the New LCD Display
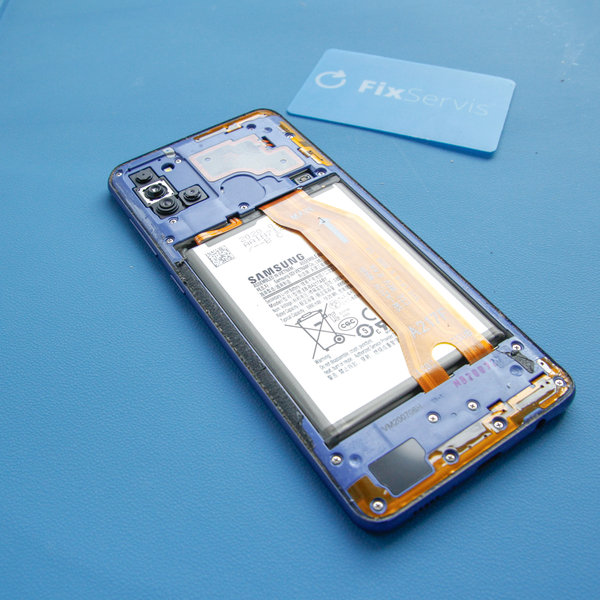
- Install all components onto the new LCD display by following the previous steps in reverse order.
To reassemble the device, follow this guide in reverse order.
Step 16 Removing the Old Adhesive from the Back Cover
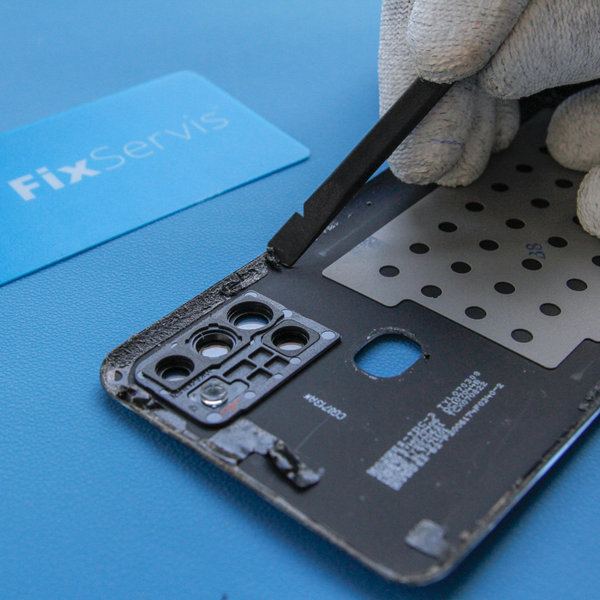
- Remove the old adhesive from around the edges of the smartphone.
- If necessary, use Cleanser IPA Plus cleaning spray to remove any remaining adhesive residue.
Step 17 Applying New Adhesive to the Smartphone Back Cover
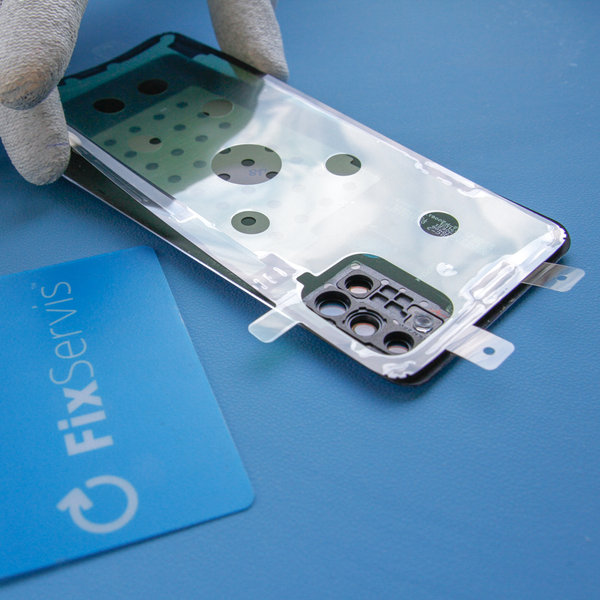
- Apply new adhesive around the inner edges of the back cover.
- Then attach the back cover to the smartphone.
The new adhesive helps restore the smartphone's resistance to water and dust.
Step 18 Installing the Back Cover
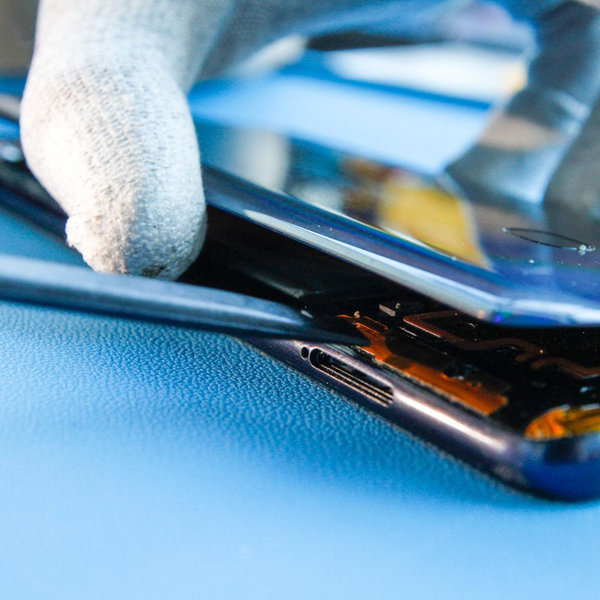
- Use a spudger to connect the fingerprint sensor flex cable to the smartphone assembly before installing the back cover.
- Install the back cover onto the smartphone assembly.
Step 19 Attaching the Clamps
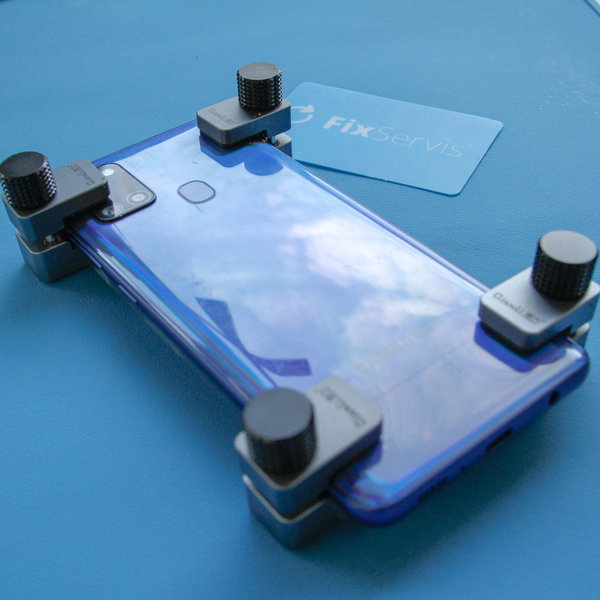
- Attach the clamps as shown in the image to ensure better adhesion between the back cover and the smartphone frame.

Going Green
We are constantly improving our carbon footprint to protect our planet. Read more about how we are adapting our processes to reduce our footprint.
