
Technical difficulty
Duration of the procedure
Number of steps in the tutorial
Necessary spare parts

Replacement tools


Read a simple guide on how to replace the battery in a MacBook Pro 13 notebook.
Step 1 Opening the bottom cover
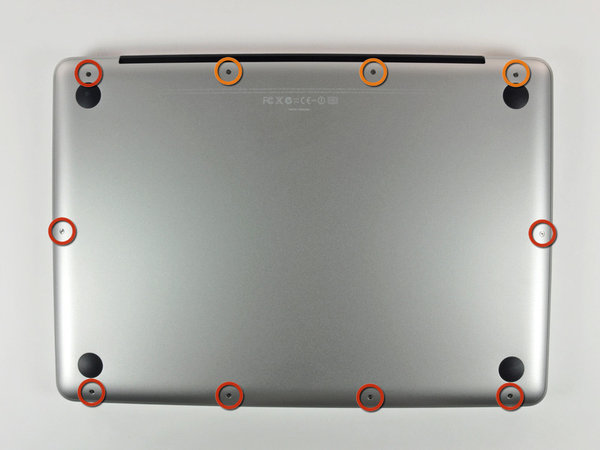
Start by opening the bottom cover of your MacBook. It is secured with the 10 circled screws in the image:
- First remove the seven 3 mm Phillips screws (red circles).
- Then remove the remaining three 13.5 mm Phillips screws (orange circles).
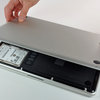
- Carefully lift the loosened bottom cover and set it aside.
Step 2 Battery removal
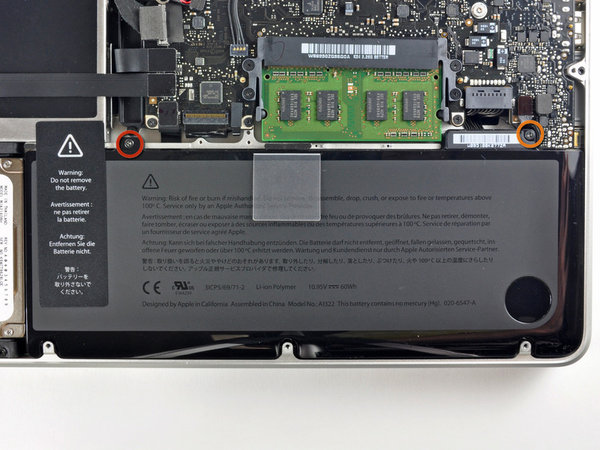
Loosen the tri-point screws that secure the old battery to the MacBook Pro body. Both screws are circled in the image - one 5.5 mm screw on the left (red circle) and one 13.5 mm screw on the right (orange circle).
Step 3 Battery connector
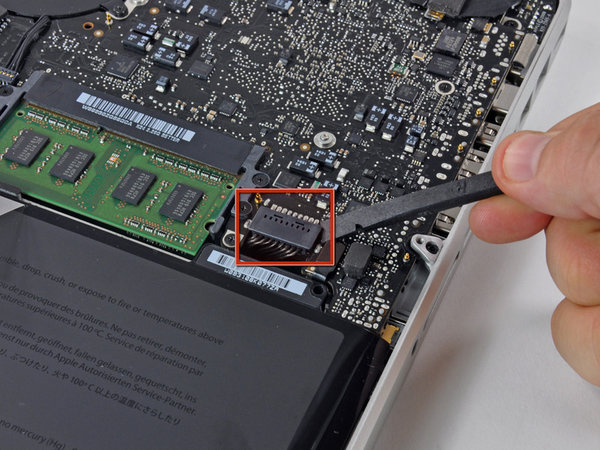
Use a spudger and gently pry up the battery connector from the logic board using the flat end.
Step 4 Battery removal and replacement on the MacBook Pro 13"

At this point, you can remove the battery from the MacBook and replace it with a new one. After installing the new battery, reassemble the notebook by following the steps in this guide in reverse order.

Going Green
We are constantly improving our carbon footprint to protect our planet. Read more about how we are adapting our processes to reduce our footprint.